Damsel in Distress
20"H x 27"W x 9"D
Moose antler and resin carving by Jim Clark
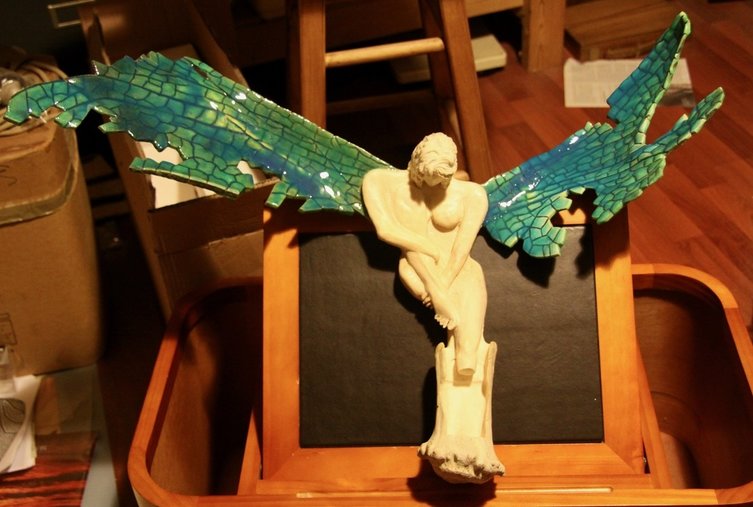
Damselflies are related to dragonflies, but, unlike the dragonfly, have intricate wings that are beautifully colored in iridescent blue or green. Distress is defined as 'extreme anxiety, sorrow, or pain.'
"Damsel in Distress" depicts the anguish of one who was given the gift of a beautiful body at birth, but, through her own inability to gain control over her addictions, destroyed the wings that would enable her to take flight.
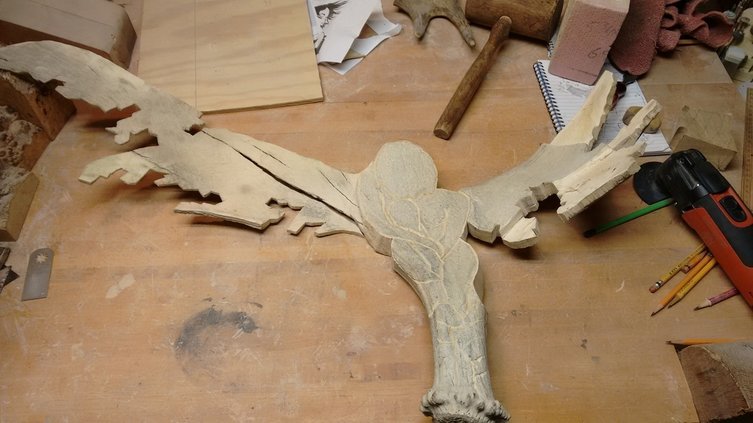
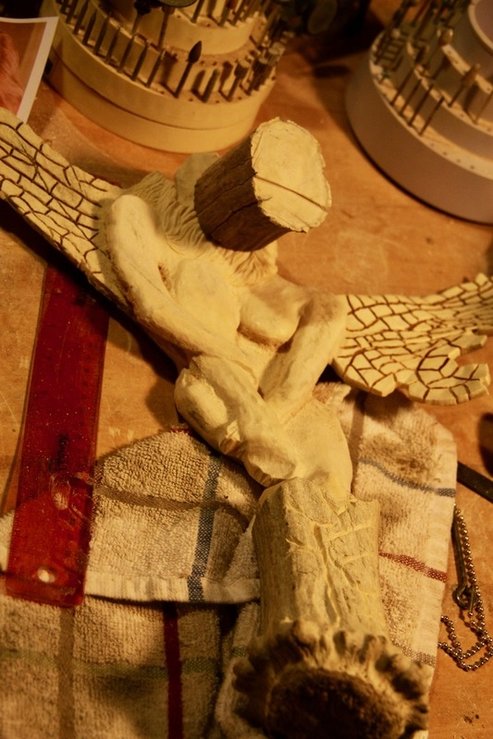
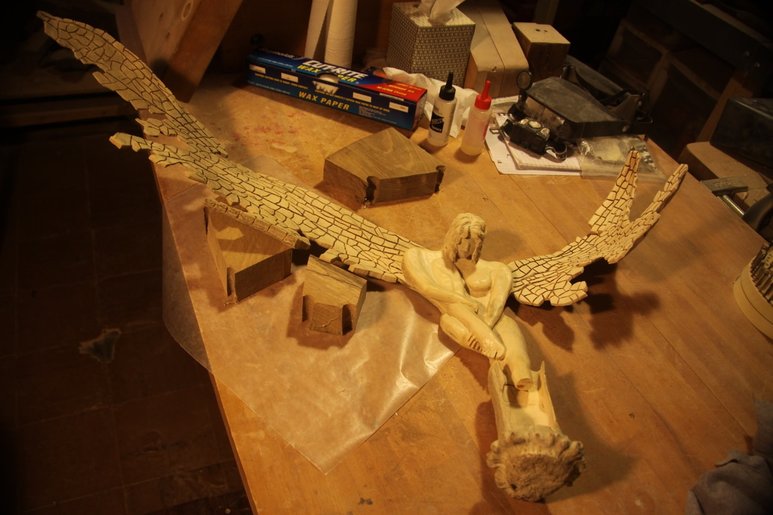
Due to the subject of the this sculpture, a time-worn and extremely weathered antler was chosen. Notice the severe cracks in the wing on the left. This antler was approximately 40 years old. Visible on the right is the beginning thickness of the material (about 5/8"). This was ground down to a thickness of 1/8", resulting in a complete separation of the wing on the left.
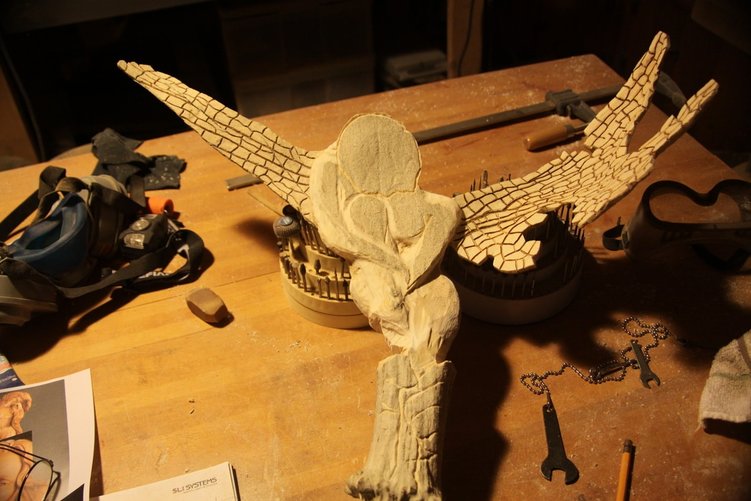
My original concept was to have a hand holding the figure down, keeping the figure grounded. In the photo above, I have shaved the wings to their proper thickness and carved the structural components into the wings. If you examine a damselfly or dragonfly wing closely, you can observe these tiny but very important structures.
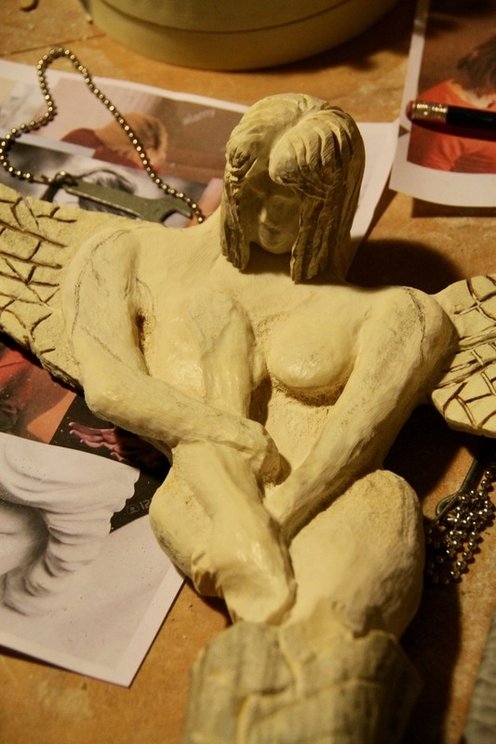
Here the body has been refined and the figure is conceptually looking down. When my harshest critic and biggest fan looked at it she said "It looks like the head is on backwards".
Hmmmm..back to the drawing board...
Hmmmm..back to the drawing board...
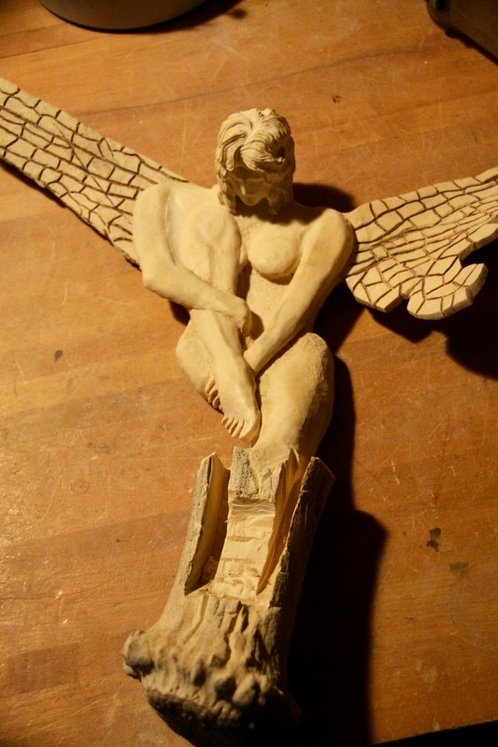
I needed a cure for this 'backward head' syndrome. In my box of bits & pieces, I found a cut-off from a previous sculpture I thought might work....but it would require a significant re-orientation of the anatomy.
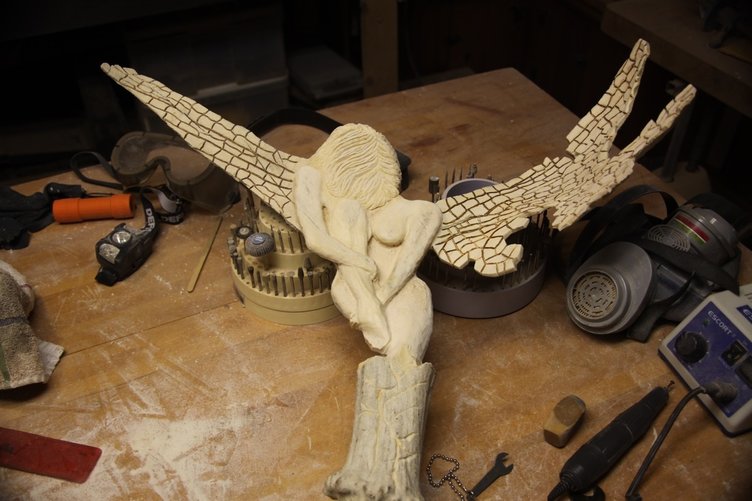
She needed refinement of the hips & shoulders to fit the new look.
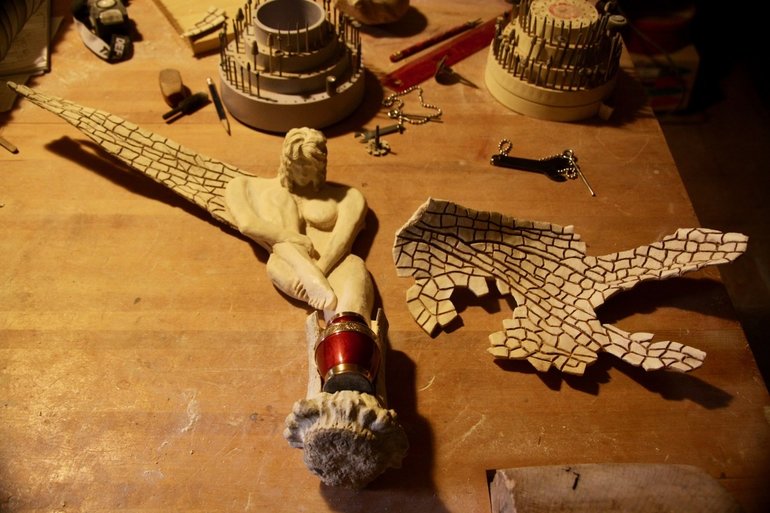
I decided to abandon the hand holding her down and replace it with an urn, so she would be rising, without success because of her tattered wings, from the ashes. Grinding out this large volume of material from a piece with very fragile wings proved to be fraught with problems, as demonstrated below.
Got the space hollowed out and the urn in place, but lost the "good" wing in the process.
At this point I had to stave off depression...
At this point I had to stave off depression...
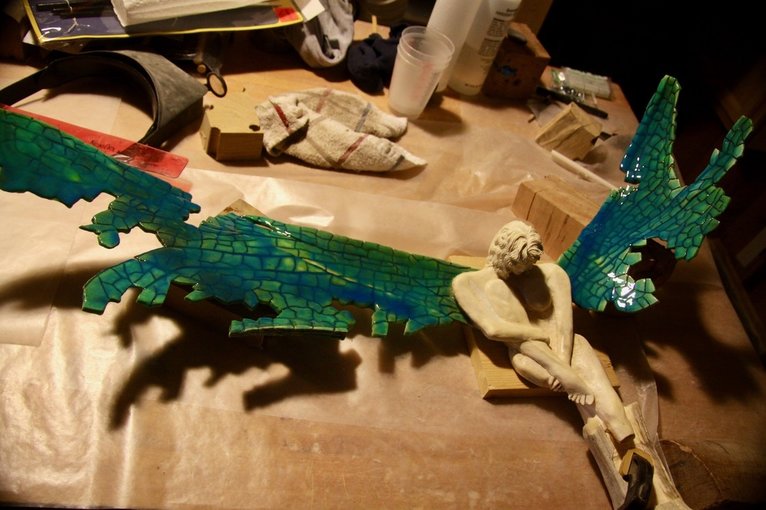
I used a two-part epoxy to glue the wings back together. Although they were holding, they were extremely fragile. I rarely use color on antler, but I wanted to add blue-green color and find a way to strengthen the wings. In my search for a solution, I began investigating the potential use of resin and stumbled upon a wealth of information at Resin Obsession (check it out here).
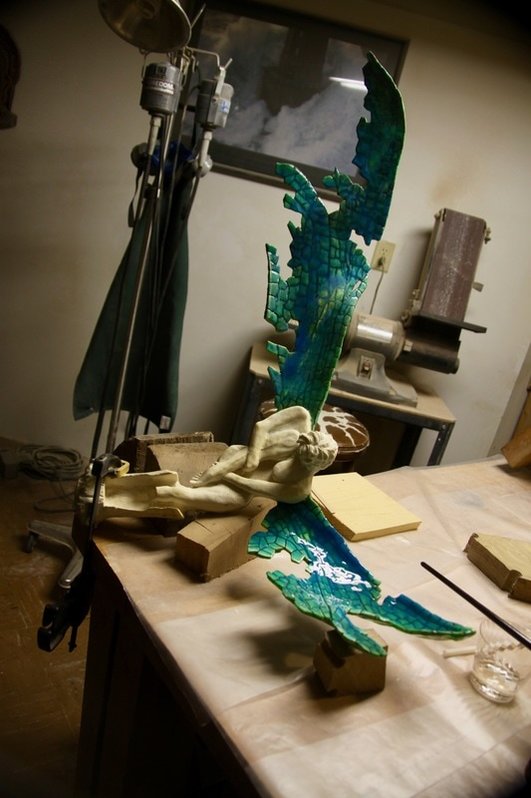
Most applications using resin are either poured onto flat surfaces or poured into molds. In this case, I needed to find a way to coat the surface of the wings and not wind up with drips because the resin tends to pool as gravity pulls it down. I used glow-in-the-dark powdered pigment from Resin Obsession, which helped to thicken the resin. The first coat was green and went on with no drips. One wing was done at a time, 72 hours dry time between coats.The second coat was blue and looked fine when I set up the jig as shown above, but resulted in several runs or drips.
After some discussion with the technical staff, I ground off the drips, sanded the wings and applied a clear coat over each wing. I held the sculpture for two hours on each wing, repositioning as needed to alter the flow to eliminate pooling and drips. The color turned out to be translucent, showing the structure of each wing in excellent detail.
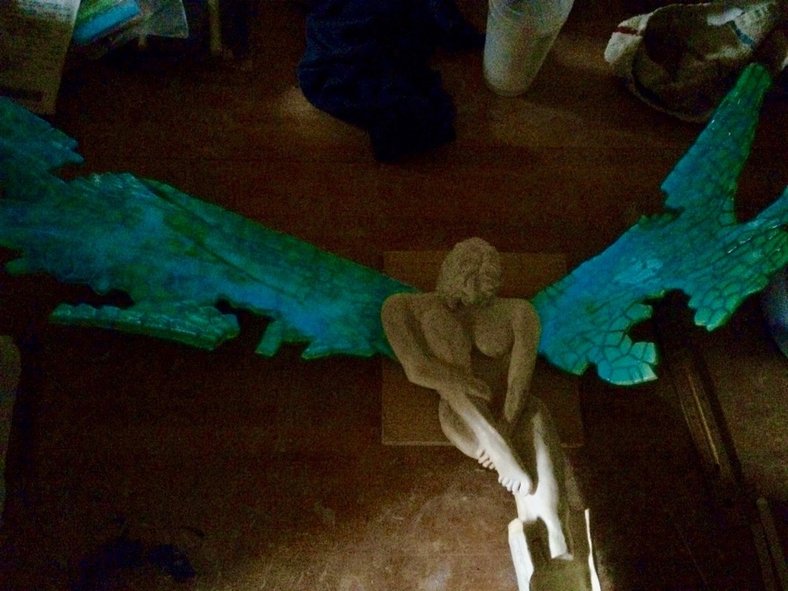
Very difficult to photograph in the dark, but this photo shows a bit of the glow-in-the-dark properties of the pigment. In reality, the wings show up brilliantly in the dark.
After 'charging' with light, the green pigment glows 8 hours and the blue 4.
After 'charging' with light, the green pigment glows 8 hours and the blue 4.

